Pulled Work Paisley Done
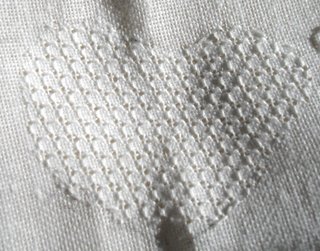
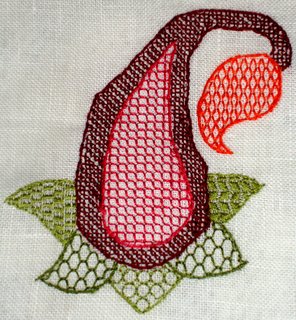
Well, here is the finished paisley. I think I'll redo the deep burgundy stem outline now that I see it from a different perspective. I've learned alot about pulled work and even now I think I'll need to pull harder when I get back to work on the dogwood piece.To give you an idea of the difference between coloured and white pulled work, I took photos of the leaf and petal from the dogwood. I did them during our chapter meeting class.The leaf is the same honeycomb stitch as the two matching darker leaves on the paisley (leaves 2 and 4 if they don't look darker on your screen).The petal is the same stitch as the pink center of the paisley.

It is incredibly hard to photograph white pulled work. I ended up using the sunlight from the window which at least gave some shadows to the photo so you can sort of see the effect.Since I must do something with the paisley (I used silk threads after all) I'm going to make it the center of my first CQ square which I will turn into a pillow. I'll take it down to the fabric store and try to find some materials to match.
![]()
posted by vignesh @ 2:03 AM
![]()
![]()


0 Comments:
Post a Comment
<< Home